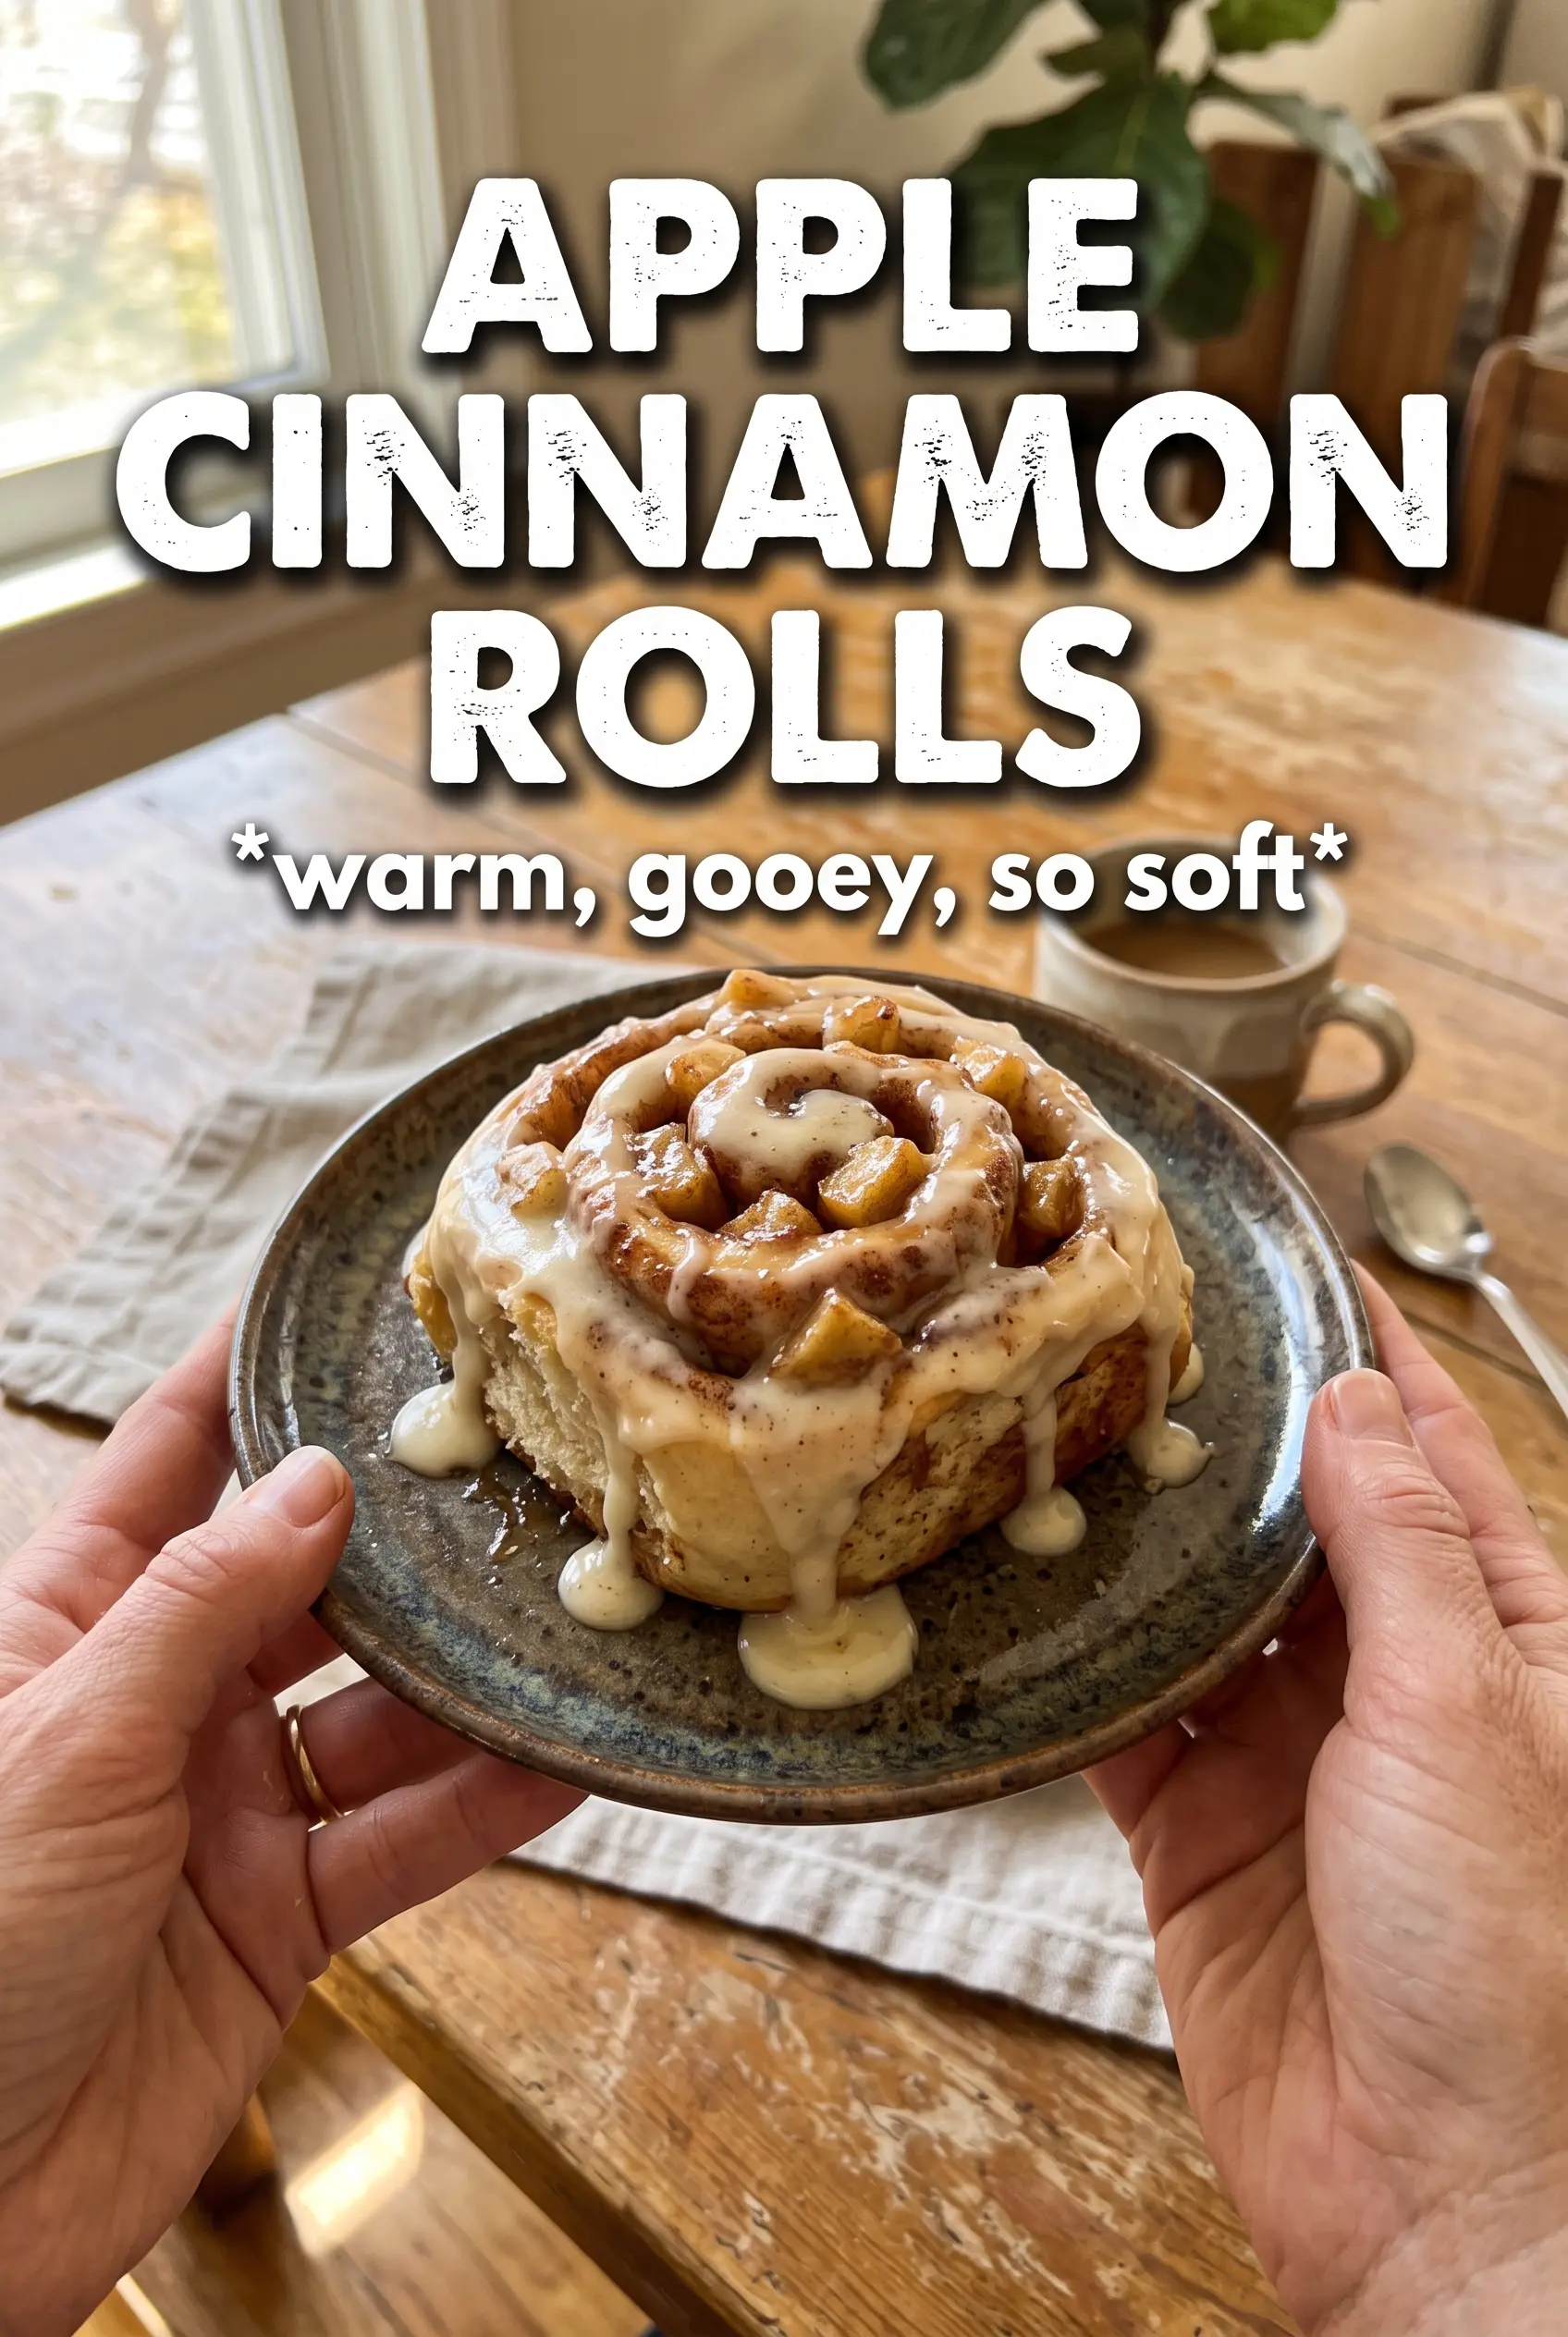
Apple cinnamon rolls bake up soft, tall, and fragrant, with sticky caramelized apple bits tucked into every swirl. The dough stays pillowy instead of bready, and the warm cream cheese glaze melts into the crevices so each bite has a little tang, a little sweetness, and plenty of cinnamon.
What makes these work is the way the apples are cooked before they go into the dough. That extra few minutes pulls out their moisture and concentrates the flavor, which keeps the filling from turning watery and slipping out of the rolls. The yeast dough is enriched with milk, butter, and eggs, so it stays tender even after baking, but it still needs enough flour to hold the filling without collapsing.
Below, I’ll walk you through the one step that keeps the rolls neat when you slice them, plus a few swaps that still give you soft spirals and a glossy glaze.
The apples stayed in the filling instead of leaking everywhere, and the rolls baked up super soft in the middle. I loved that the glaze melted into the warm swirls instead of sitting on top like frosting.
Love the soft dough and caramelized apple filling in these Apple Cinnamon Rolls? Save this recipe for a weekend breakfast with a warm glaze and tender, swirled layers.
Why the Apple Filling Has to Be Cooked First
The biggest mistake with fruit cinnamon rolls is using raw apples and hoping the oven will do the rest. Raw diced apples release juice as they bake, and that moisture can loosen the filling, undercut the dough, and leave you with spirals that look better than they taste. Cooking the apples with butter, brown sugar, cinnamon, and nutmeg turns them into a thick, spoonable filling that stays where you spread it.
That quick stovetop step also changes the flavor in a way raw fruit can’t. The brown sugar clings to the apples, the butter rounds out the spice, and the apples soften just enough to tuck neatly into the roll without turning mushy. You want them tender and glossy, not broken down into applesauce.
What Each Ingredient Is Actually Doing in This Dough
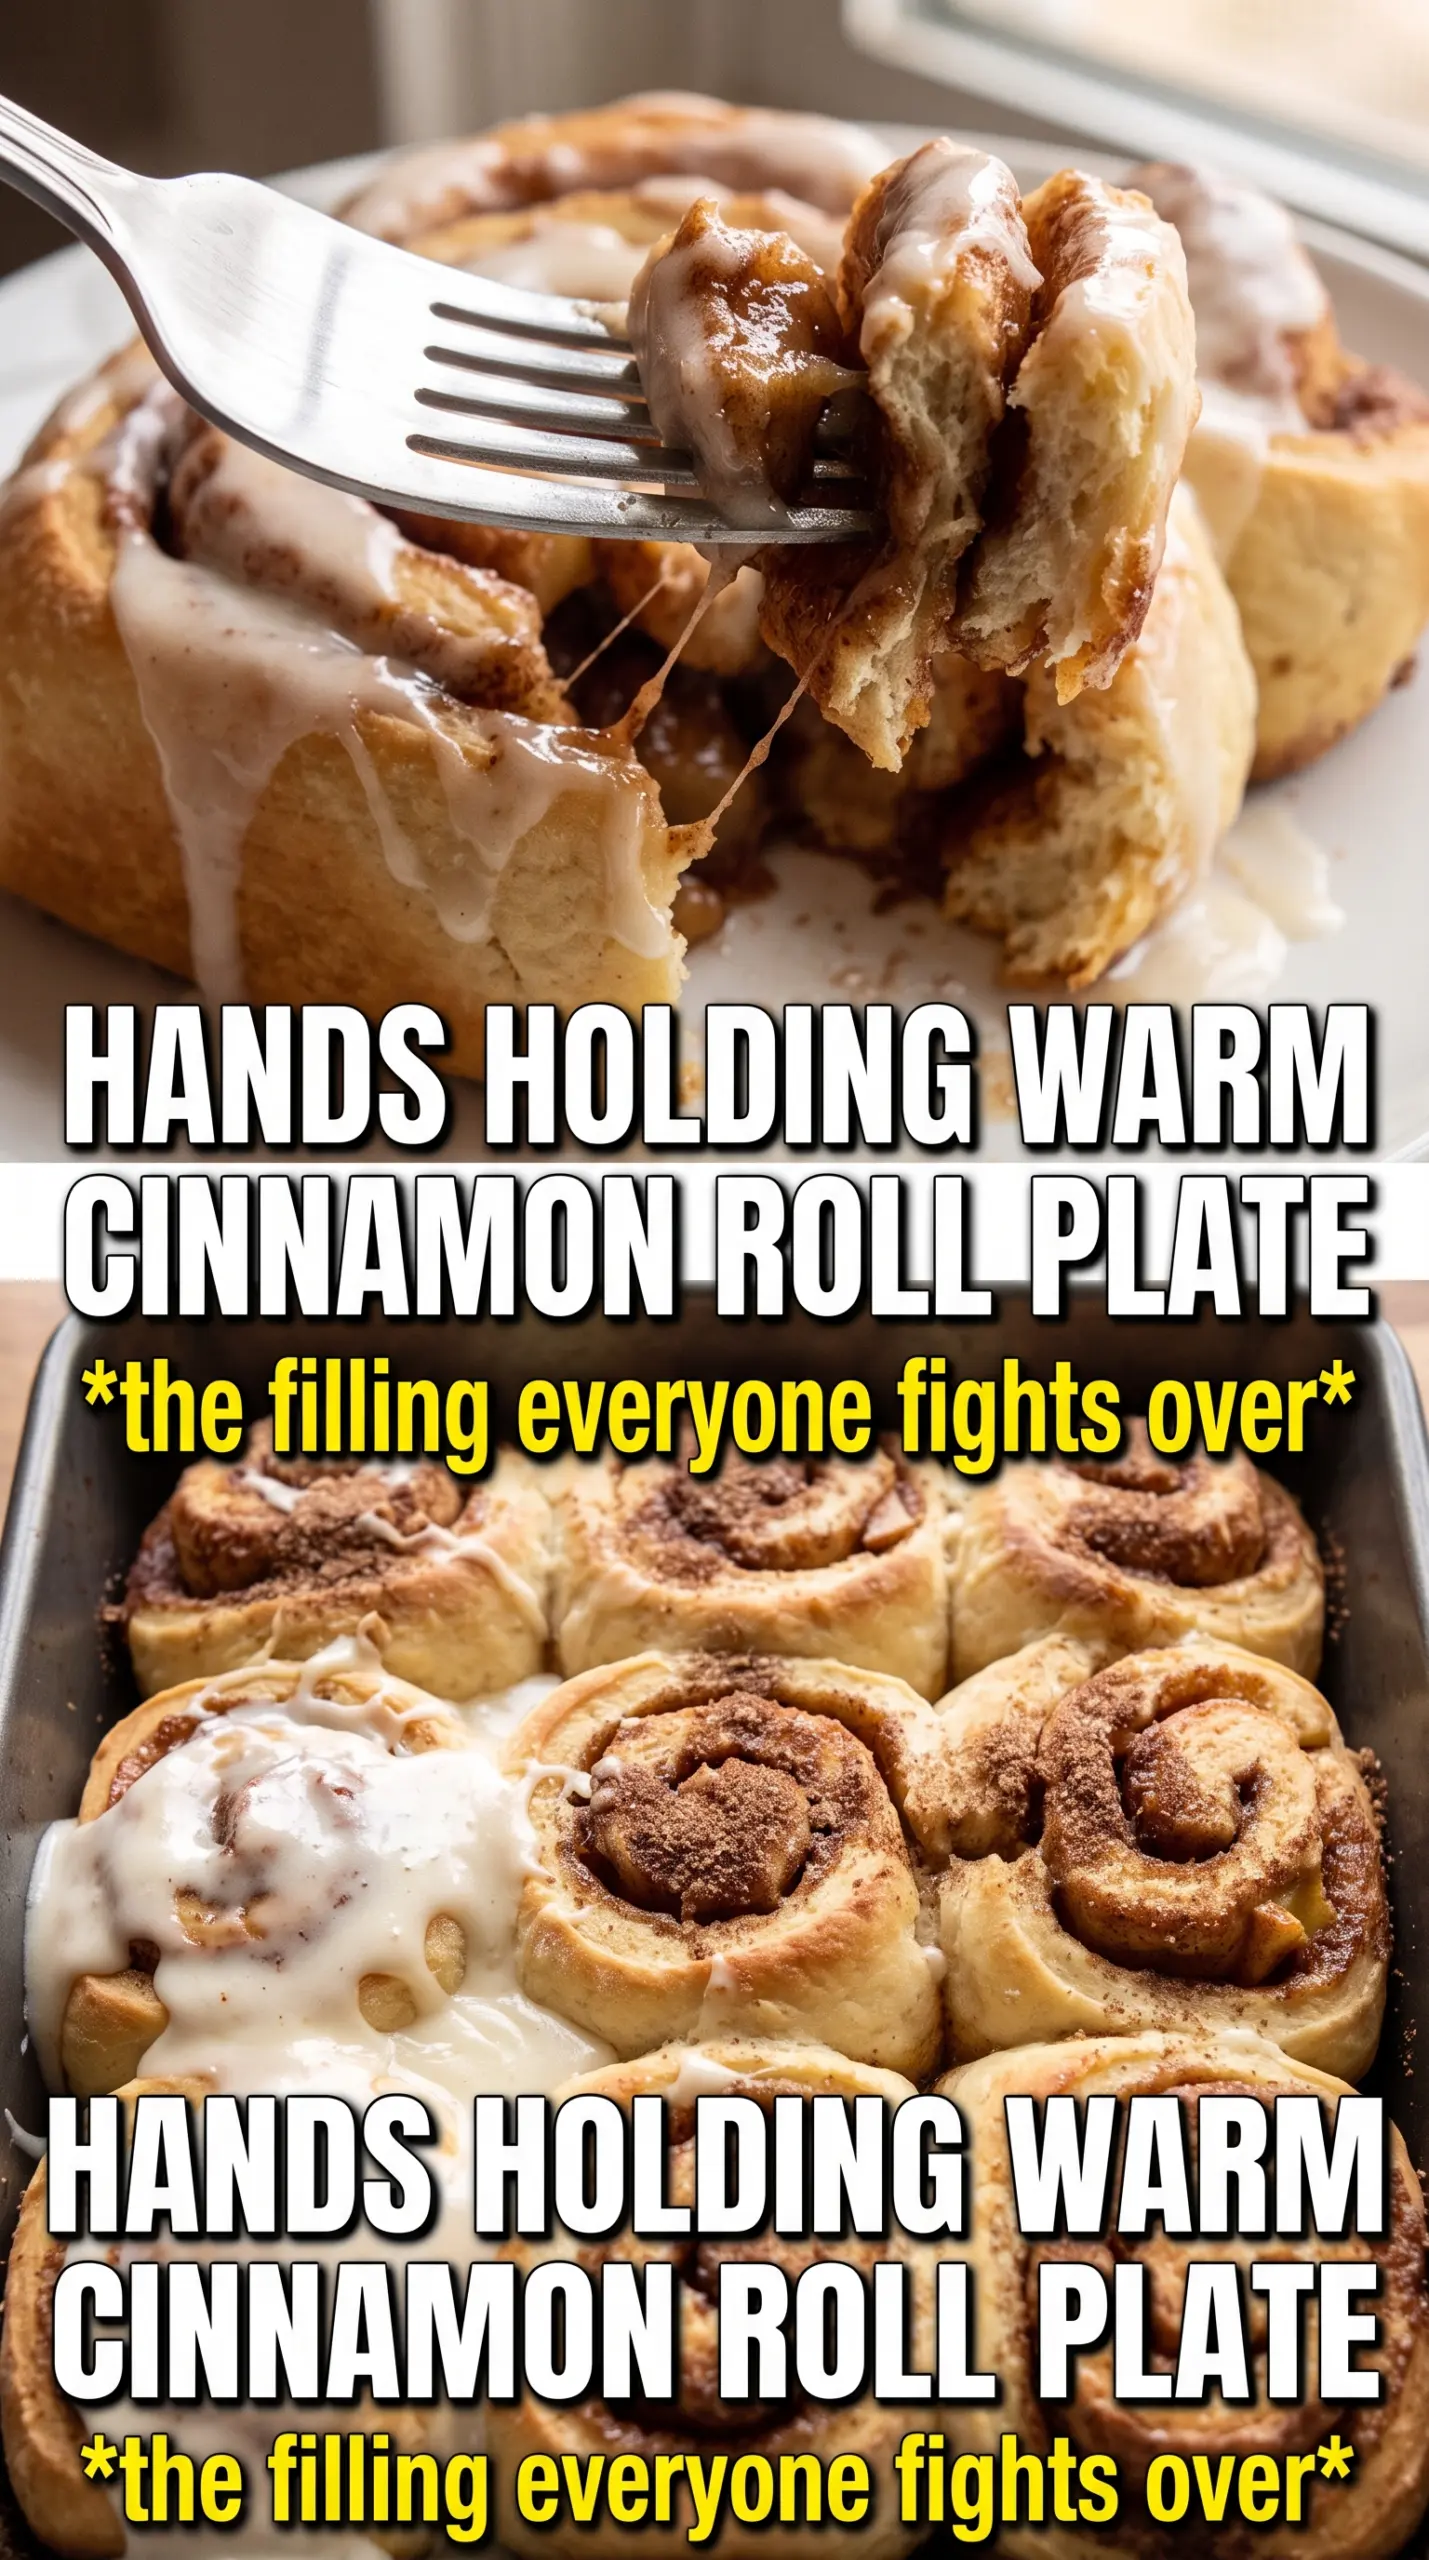
- Warm milk — It wakes up the yeast and gives the dough a softer crumb than water would. Keep it around 110F; if it feels hot on your wrist, it’s too hot and can slow or kill the yeast.
- Active dry yeast — This gives the rolls their lift and that airy pull-apart texture. If it doesn’t foam in the first few minutes, stop and start over with fresh yeast.
- Butter and eggs — These enrich the dough so it bakes up tender instead of chewy. Melted butter works here because it blends in smoothly, and the eggs add structure without making the rolls dense.
- Apples — Use a firm baking apple if you can. Softer apples turn to mush and disappear; firm ones keep their shape and give you small, sweet pockets in every bite.
- Cream cheese glaze — The tang balances the sweet filling and makes the rolls taste finished, not just sugary. Softened cream cheese matters because cold cream cheese leaves little lumps even if you whisk forever.
Building the Rolls So the Filling Stays Put
Waking Up the Yeast
Stir the warm milk, yeast, and a spoonful of sugar together, then wait until the surface looks foamy and active. That foam tells you the yeast is alive and ready to work. If the mixture stays flat after 5 to 10 minutes, the milk was probably too hot or the yeast is expired, and the dough won’t rise well.
Mixing a Soft, Enriched Dough
Add the remaining sugar, melted butter, eggs, vanilla, flour, and salt, then mix until a soft dough forms. It should feel tacky but not sticky enough to coat your hands in dough paste. If you add too much flour here, the rolls bake up dry and tight, so stop once the dough is smooth and elastic after kneading.
Cooking the Apples Until They’re Spoonable
Cook the diced apples with butter, brown sugar, cinnamon, and nutmeg until the mixture looks glossy and thickened. The pan should smell like baked apples and caramel, and most of the liquid should be gone. Let the filling cool before spreading it on the dough or it will soften the butter in the dough and make rolling messy.
Rolling, Slicing, and Proofing
Roll the dough into a neat rectangle and spread the cooled filling in an even layer, leaving a small border along one long edge. Roll it tightly from the opposite long side so the spiral stays compact; loose rolling gives you gaps and leaking filling. Slice with a sharp knife or unflavored dental floss, then let the rolls rise until puffy and touching before baking.
Baking and Glazing
Bake until the tops are golden and the centers look set, not doughy. If the rolls brown too fast, tent them loosely with foil so the inside has time to finish. Beat the glaze until smooth and drizzle it over the rolls while they’re still warm, because that’s when it melts into the spirals instead of sitting in a thick layer on top.
How to Adapt These Rolls Without Losing the Soft Texture
Use pears instead of apples
Firm pears work in place of apples if you cook them down first the same way. The flavor is gentler and a little more floral, but the filling still needs that stovetop step so it doesn’t leak into the dough.
Make them dairy-free
Swap the milk for an unsweetened non-dairy milk and use plant butter in both the dough and the filling. The rolls will still rise and bake up tender, though the glaze will need a touch more powdered sugar if your milk substitute is thinner.
Cut the sweetness a little
Use a little less brown sugar in the filling and skip a spoonful or two from the glaze if you prefer a less sugary roll. The spice and apple flavor come through more clearly, but the rolls will still taste rich because the dough itself is already enriched.
Add chopped pecans
A small handful of chopped pecans gives the filling more texture and a toasty note that plays well with the cinnamon. Add them after the apples cool so they stay crisp and don’t soak up the syrup in the pan.
Storage and Reheating
- Refrigerator: Store covered for up to 4 days. The rolls will tighten a little as they chill, but they stay soft once warmed.
- Freezer: These freeze well. Wrap individually or freeze the whole baked pan without glaze, then thaw overnight in the fridge and glaze after reheating.
- Reheating: Warm in a 300F oven covered with foil until heated through, or microwave single rolls in short bursts. Don’t overheat them or the dough turns dry while the filling gets gluey.