Cheesy chicken bacon ranch tacos hit that sweet spot between crisp, creamy, and smoky. The tortillas turn golden and shatter at the edges, the chicken stays juicy, and the ranch ties everything together without making the filling heavy. It’s the kind of taco that disappears fast because every bite has a little crunch, a little salt, and just enough tang to keep you reaching for another.
What makes this version work is the split use of ranch seasoning. Some goes on the chicken so the meat gets seasoned all the way through, and the rest gets dusted over the finished tacos so the ranch flavor stays bright instead of getting lost during cooking. The other detail that matters is using a dry skillet for the shells after the cheese is tucked inside. That gives you a crisp tortilla outside and a melty center that holds the filling together.
Below you’ll find the exact texture cues I watch for, plus a couple of smart swaps if you need to stretch the filling or adjust the recipe for what’s already in your kitchen.
The chicken stayed juicy, the bacon stayed crisp, and the shells got that perfect golden crunch without breaking when I folded them. My kids picked the tomatoes out at first and then asked for seconds.
Save these cheesy chicken bacon ranch tacos for the night you want crispy shells, melty cheddar, and a fast dinner that still feels fun.
The Trick to Crispy Taco Shells That Still Hold the Filling
The big mistake with tortilla tacos is chasing crispness in too much heat. The outside browns before the cheese inside has a chance to melt, and you end up with a shell that cracks as soon as you fold it. A dry skillet over medium heat gives you more control: the tortilla firms up, the cheddar melts into the fold, and the whole taco becomes sturdy enough to stuff without falling apart.
The chicken matters here too. Thin slices cook quickly and stay tender, which is important because this filling sits inside a hot tortilla and gets another minute or two of heat during assembly. If the chicken is cut too thick, the outside gets overcooked before the center is done, and the texture goes from juicy to dry fast.
- Chicken breast — Slice it thin so it cooks evenly and stays tender. Thighs work too if you want a little more richness, but they’ll need a minute or two longer.
- Sharp cheddar — This is what helps glue the taco together. Pre-shredded is fine, but freshly shredded melts faster and gives you fewer stubborn clumps.
- Flour tortillas — They’re sturdier than corn for this style of taco and crisp up with a better fold. Warm them slightly before filling if they feel stiff.
- Ranch seasoning — The packet carries the whole flavor. Splitting it keeps the seasoning from tasting flat after cooking.
What Each Ingredient Is Actually Doing in These Tacos
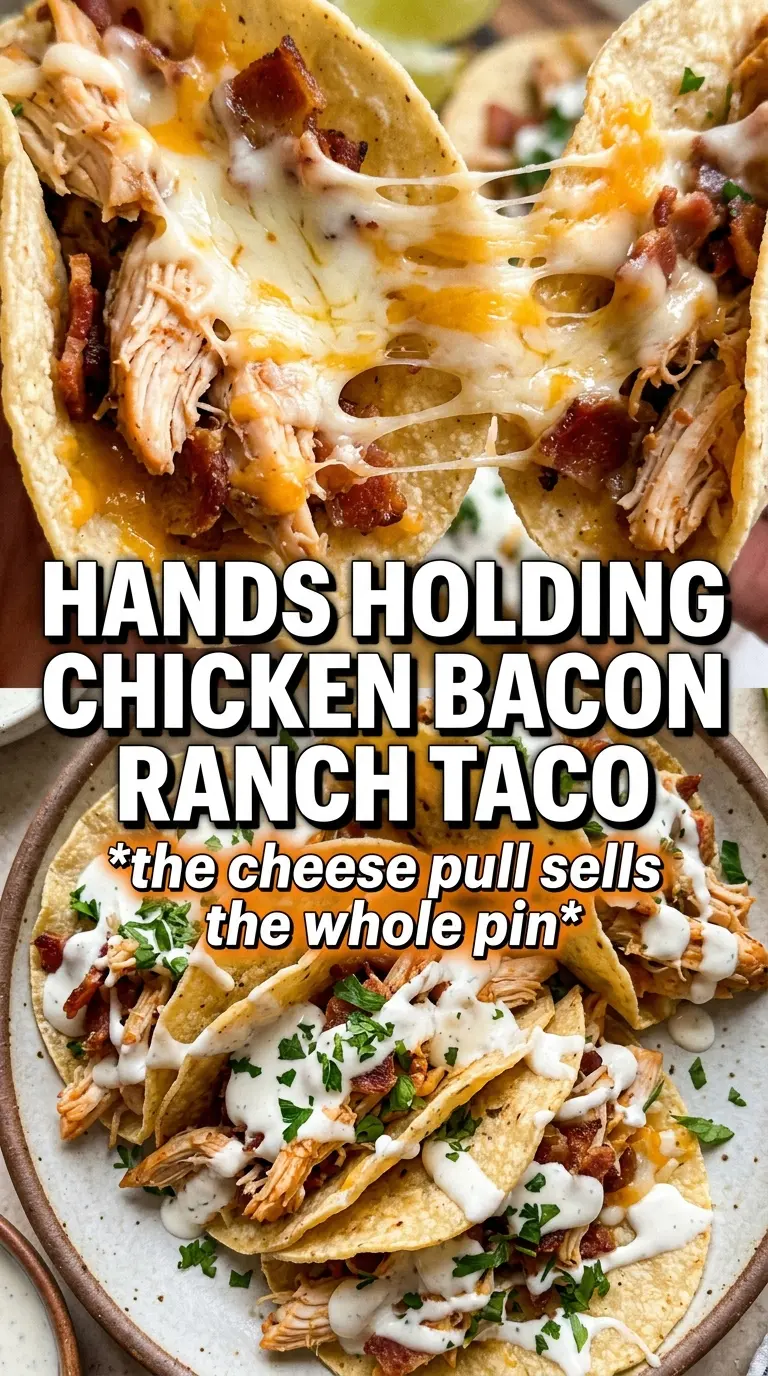
- Chicken breast — Thin slicing gives you fast, even cooking and a better bite inside the taco. If you only have thicker breasts, pound them lightly first so they don’t dry out on the skillet.
- Bacon — It brings the smoky, salty crunch that makes the tacos feel complete. Cook it until crisp enough to crumble, not limp, or it turns soft once the ranch dressing goes on.
- Ranch seasoning mix — This is the backbone of the dish. Half seasons the chicken from the start, and the rest finishes the tacos with a sharper ranch hit after cooking.
- Sharp cheddar — Sharp cheddar melts well and gives the tacos enough punch to stand up to the bacon and ranch. Mild cheddar works in a pinch, but the flavor gets quieter.
- Romaine, tomatoes, and red onion — These are there for contrast. They cut through the richness and keep the tacos from eating like pure cheese and bacon.
- Ranch dressing — Use just enough to drizzle. Too much and the crispy shell softens before you sit down.
Building the Chicken and Melting the Cheese Without Losing the Crunch
Season the Chicken First
Toss the sliced chicken with half of the ranch packet before it ever hits the pan. That lets the seasoning cling to the meat instead of sitting on the surface of the finished taco. Cook it in olive oil over medium heat until the pieces are opaque through the center and lightly browned on the edges, about 4 to 5 minutes per side depending on thickness. If the pan is crowded, the chicken steams instead of browns, so work in batches if needed.
Cook Until Juicy, Then Rest
Pull the chicken off the heat as soon as it’s cooked through, then let it rest for a few minutes before slicing or chopping. That short rest keeps the juices in the meat instead of running onto the board. If you cut it immediately, the filling turns watery and the tortillas soften faster once you assemble the tacos.
Crisp the Tortillas With the Cheese Inside
Fold each tortilla over a layer of cheddar and griddle it in a dry skillet until the outside turns golden and the cheese melts enough to hold the fold. The dry pan matters here because any added oil can make the shell blister before it crisps evenly. Keep the heat at medium; too hot and the tortilla browns before the cheese loosens, too low and it turns dry before it gets any color.
Fill Fast and Serve Right Away
Load the crispy shells with chicken, bacon, lettuce, tomatoes, and red onion while they’re still warm. Finish with ranch dressing and the remaining ranch seasoning right before serving. If the tacos sit too long after dressing, the shells soften, so this is a dish that rewards moving quickly once the crisping is done.
How to Adapt These Tacos for Different Nights
Make Them Gluten-Free
Use gluten-free tortillas that can handle folding without cracking, and warm them gently before filling so they stay flexible. The filling itself is naturally gluten-free as long as your ranch seasoning and dressing are checked for hidden wheat-based additives.
Lighten Them Up Without Losing the Crunch
Cut the bacon to 4 strips and use a lighter hand with the ranch dressing. You’ll still get the smoky-salty balance, but the tacos won’t feel as rich or heavy, especially if you load up the lettuce and tomatoes.
Swap in Rotisserie Chicken
Shred cooked rotisserie chicken and toss it with a little olive oil and ranch seasoning before warming it through. You lose the browned edges from pan-cooked chicken, but you gain speed, which makes this a smart shortcut for busy nights.
Storage and Reheating
- Refrigerator: Store the chicken and bacon separately from the lettuce, tomatoes, and tortillas for up to 3 days. The assembled tacos soften fast, so keep the parts apart.
- Freezer: The cooked chicken freezes well for up to 2 months. Don’t freeze the assembled tacos; the lettuce and tortilla texture suffer badly after thawing.
- Reheating: Reheat the chicken in a skillet over medium-low heat or in the microwave in short bursts until just warmed through. Crisp fresh tortillas when you’re ready to eat, then add the cold toppings at the end so the shells stay crunchy.
Questions I Get Asked About This Recipe
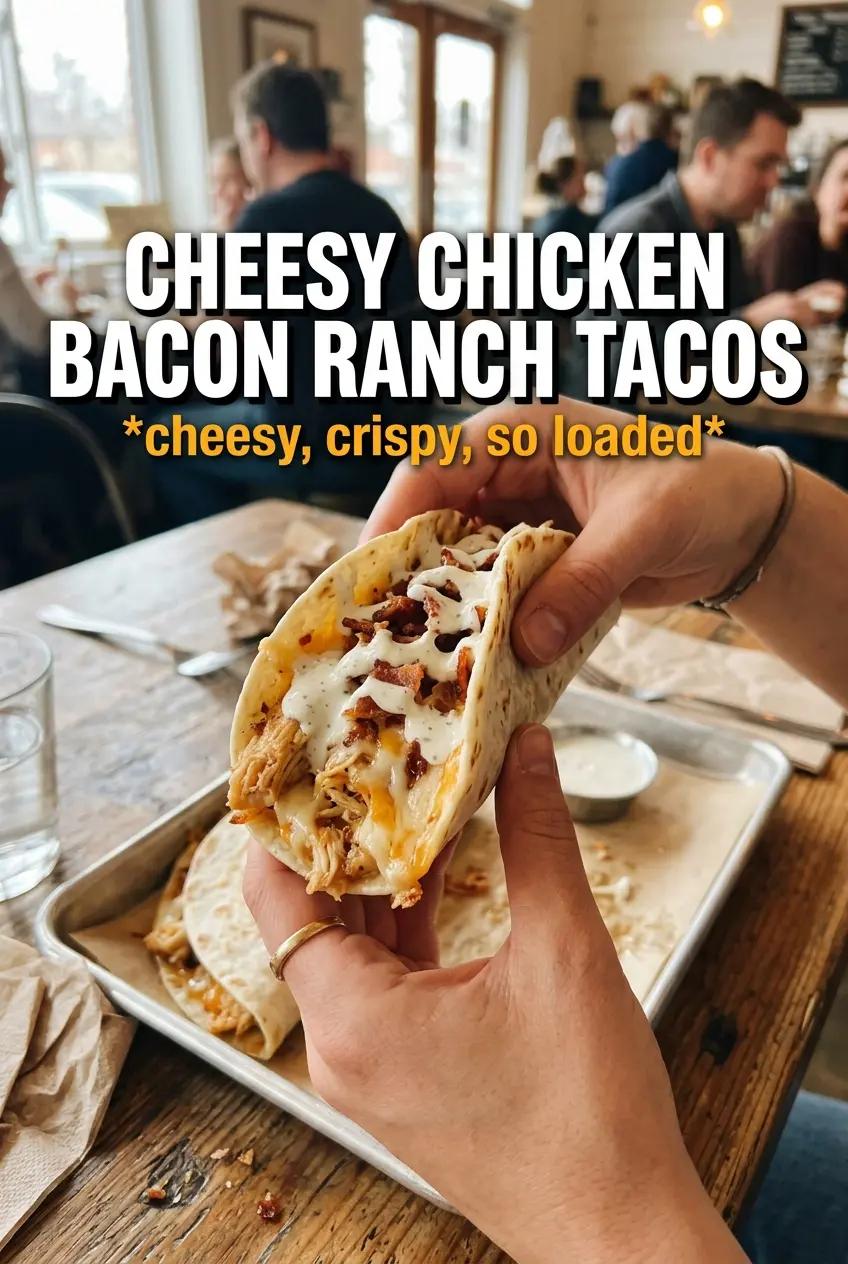
Cheesy Chicken Bacon Ranch Tacos
Ingredients
Equipment
Method
- Season the thin-sliced chicken breast with half the ranch seasoning mix. Heat olive oil in a cast iron skillet over medium-high and cook the chicken for 4-5 minutes per side until cooked through, turning once.
- Transfer the cooked chicken to a plate to rest. Slice or shred as needed, then set aside while you crisp and assemble the tacos.
- Fold each flour tortilla in half. Griddle the folded tortillas in a dry cast iron skillet until crispy and browned on both sides, about 1-2 minutes per side, and add cheddar inside so it melts.
- Fill each crispy taco shell with ranch chicken, crumbled bacon, shredded romaine lettuce, halved cherry tomatoes, and diced red onion.
- Drizzle with ranch dressing and dust with the remaining ranch seasoning mix. Serve immediately while the shells are crisp and the cheese is melted.