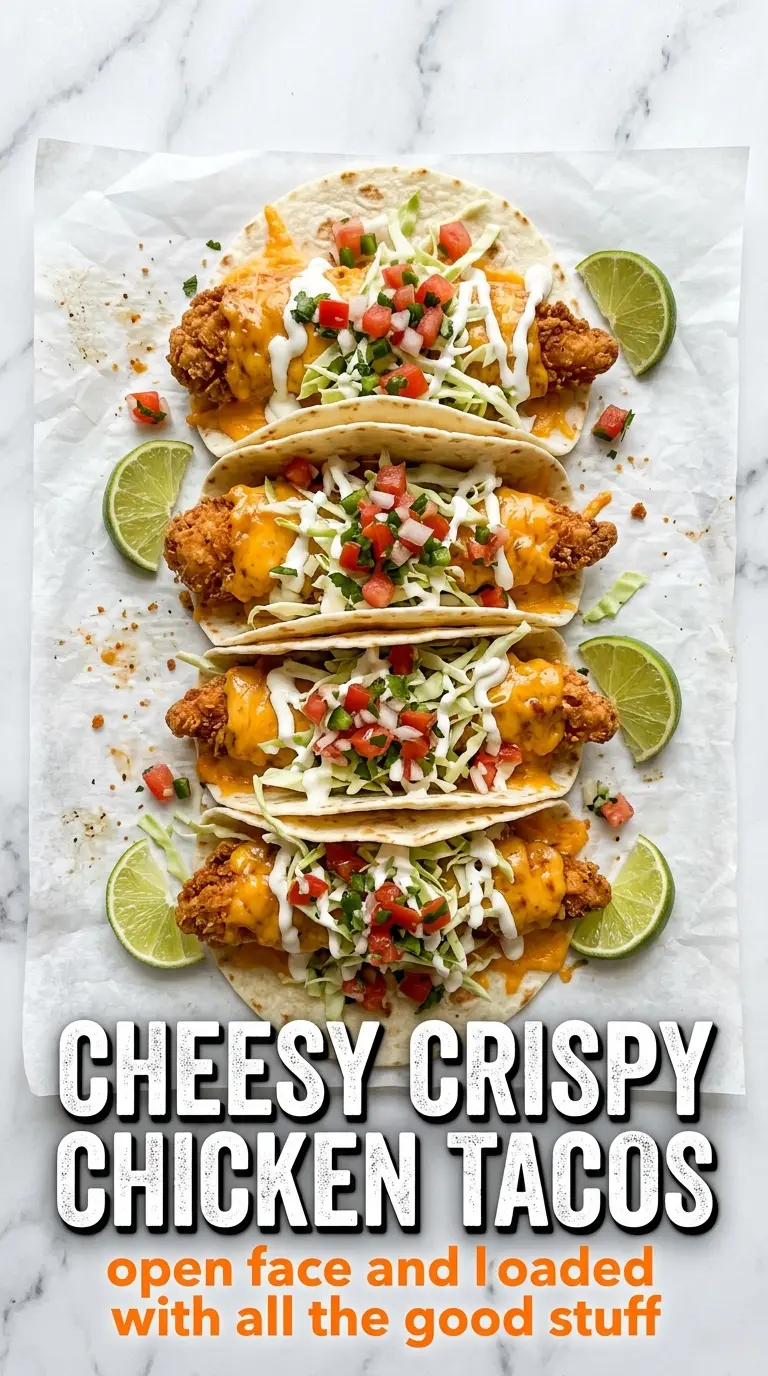
Crispy chicken tacos hit a different level when the filling is fried until deeply golden and then tucked into warm tortillas with enough cheese to pull into long, stretchy strands. The contrast is the whole point here: crackly coating, juicy chicken, soft tortillas, and fresh toppings that keep every bite from feeling heavy. When that cheese melts over the hot chicken and seals the taco shut in the skillet, you get the kind of taco that disappears fast.
The trick is keeping the breading light enough to fry crisp without turning pasty. A simple flour-and-spice dredge gives the chicken a thin crust that browns quickly, and the short skillet finish at the end does double duty by melting the cheese and helping the tortilla pick up a little toasty color. Oaxaca cheese is the best choice for that signature melt, but mozzarella works well when that’s what’s in the fridge.
Below you’ll find the little details that matter most: how to keep the coating from slipping off, how to get the oil hot enough without scorching the breading, and what to change if you want to make these tacos with what you already have on hand.
The chicken stayed crunchy even after I melted the cheese in the skillet, and the lime at the end kept everything from feeling greasy. My kids picked off the cilantro and still asked for seconds.
Save these cheesy crispy chicken tacos for the night you want crunchy fried chicken, melted cheese, and a fresh lime finish in one skillet.
The Part That Keeps the Coating Crispy After Frying
The coating on these tacos stays crisp because the chicken is fried in batches and moved straight to paper towels before it goes anywhere near the tortilla. If you crowd the pan, the oil temperature drops and the flour starts soaking up grease instead of setting into a dry shell. That’s the difference between chicken that crackles and chicken that turns heavy.
The second part of the trick is the quick skillet finish after assembly. The taco only needs a minute or two per side, just long enough to melt the cheese and lightly toast the tortilla. If you leave it in the pan too long, the tortilla can stiffen before the cheese fully relaxes.
What the Cheese and Tortilla Are Each Doing Here
- Oaxaca or mozzarella — This is the cheese that gives you those long, melty pulls when the tacos hit the skillet. Oaxaca is the more traditional choice and melts a little silkier, but mozzarella works well if that’s what you can get easily.
- Corn tortillas — Small corn tortillas hold up better than flour here because they stay sturdy around the fried filling and don’t turn floppy as fast. Warm them first so they fold without cracking; cold tortillas split the second you try to close them.
- Chicken breasts — Bite-sized pieces cook fast and give you more crunchy edges than whole cutlets. Thighs can be used if you want a juicier result, but they’ll need a touch more time in the oil.
- Seasoned flour — Garlic powder and chili powder do the work here without burying the chicken in a heavy breading. The coating should look thin and dusty before frying, not clumped up.
Frying, Filling, and Melting Without Losing the Crunch
Setting Up the Dredge
Mix the flour with the garlic powder and chili powder in a shallow dish so the chicken gets an even, thin coat. Season the chicken itself with salt and pepper first; that way the seasoning reaches the meat, not just the crust. Dip into the beaten eggs, then into the flour, pressing lightly so the coating adheres without forming thick patches that fry up doughy.
Frying the Chicken in Batches
Heat the oil to 350°F before the chicken goes in. If the oil is cooler, the breading drinks up too much of it; if it’s hotter, the outside browns before the inside is cooked. Fry in small batches until the pieces are golden and the centers are cooked through, about 6 to 8 minutes total depending on size. The chicken should sound lively in the oil, not aggressively sputter the whole time.
Melting the Cheese in the Tortilla
Warm the tortillas first, then add a little cheese, the fried chicken, and a little more cheese right on top. That cheese layer underneath helps glue everything together and keeps the chicken from sliding out when you fold the taco. Set the filled tacos in a hot skillet for 1 to 2 minutes per side until the tortilla picks up light brown spots and the cheese turns fully soft. If the tortillas are browning too fast before the cheese melts, lower the heat and give them another minute.
Finishing With Fresh Toppings
Add the lettuce, onion, and cilantro after the taco comes off the skillet so they stay crisp and bright. A squeeze of lime at the end sharpens the fried chicken and keeps the tacos from tasting flat. If the tacos sit too long after assembling, the steam softens the crust, so serve them right away.
How to Change These Tacos Without Losing What Makes Them Work
Gluten-Free Version
Use a gluten-free all-purpose flour blend in place of the regular flour. The crust will still brown and crisp, though it may look a little less shattery than the wheat version. Keep the coating thin so it doesn’t turn dense.
Baked Instead of Fried
You can bake the coated chicken on a rack at 425°F, then finish the assembled tacos in a skillet the same way. The chicken won’t be quite as crunchy as the fried version, but you’ll still get good color and a lighter result.
Thighs Instead of Breasts
Boneless thighs bring a juicier bite and a little more richness. Cut them into the same bite-sized pieces and watch the frying time closely, since they can take a minute or two longer to cook through depending on thickness.
Storage and Reheating
- Refrigerator: Store the fried chicken separately for up to 3 days. The tortillas and toppings are best kept apart so they don’t soften the crust.
- Freezer: The fried chicken freezes well for up to 2 months. Freeze it in a single layer first, then move it to a bag or container so the coating stays intact.
- Reheating: Reheat the chicken in a 375°F oven or air fryer until hot and crisp again. The mistake to avoid is microwaving it, which softens the crust and makes the coating go chewy.
Answers to the Questions Worth Asking

Cheesy Crispy Chicken Tacos
Ingredients
Equipment
Method
- Cut the boneless chicken breasts into bite-sized pieces, then season with salt and pepper. Keep pieces roughly even so they fry at the same rate.
- Combine the all-purpose flour, garlic powder, and chili powder in a shallow dish. This seasoned flour will be your dredge for extra crisping.
- Dip the chicken pieces in the beaten eggs, then dredge in the seasoned flour. Press lightly so the coating adheres.
- Heat the vegetable oil to 350°F. Use a thermometer if possible to hold the temperature for consistent browning.
- Fry the chicken in batches until golden and cooked through, about 6-8 minutes total. Turn once if needed for even color.
- Drain the fried chicken on paper towels. Let it rest briefly so excess oil doesn’t soften the coating.
- Warm the small corn tortillas, then place a small portion of shredded Oaxaca or mozzarella cheese in the center of each. Add enough cheese to create stretchy melted pockets.
- Add fried chicken on top, then add more shredded Oaxaca or mozzarella cheese. Fold the tortillas in half so the filling stays centered.
- Briefly warm the filled tortillas in a hot cast iron skillet to melt the cheese, about 1-2 minutes per side. Look for bubbling cheese at the seam and lightly crisped tortilla edges.
- Top the tacos with shredded lettuce, diced onion, and cilantro. Finish with lime wedges on the side for squeezing at the table.