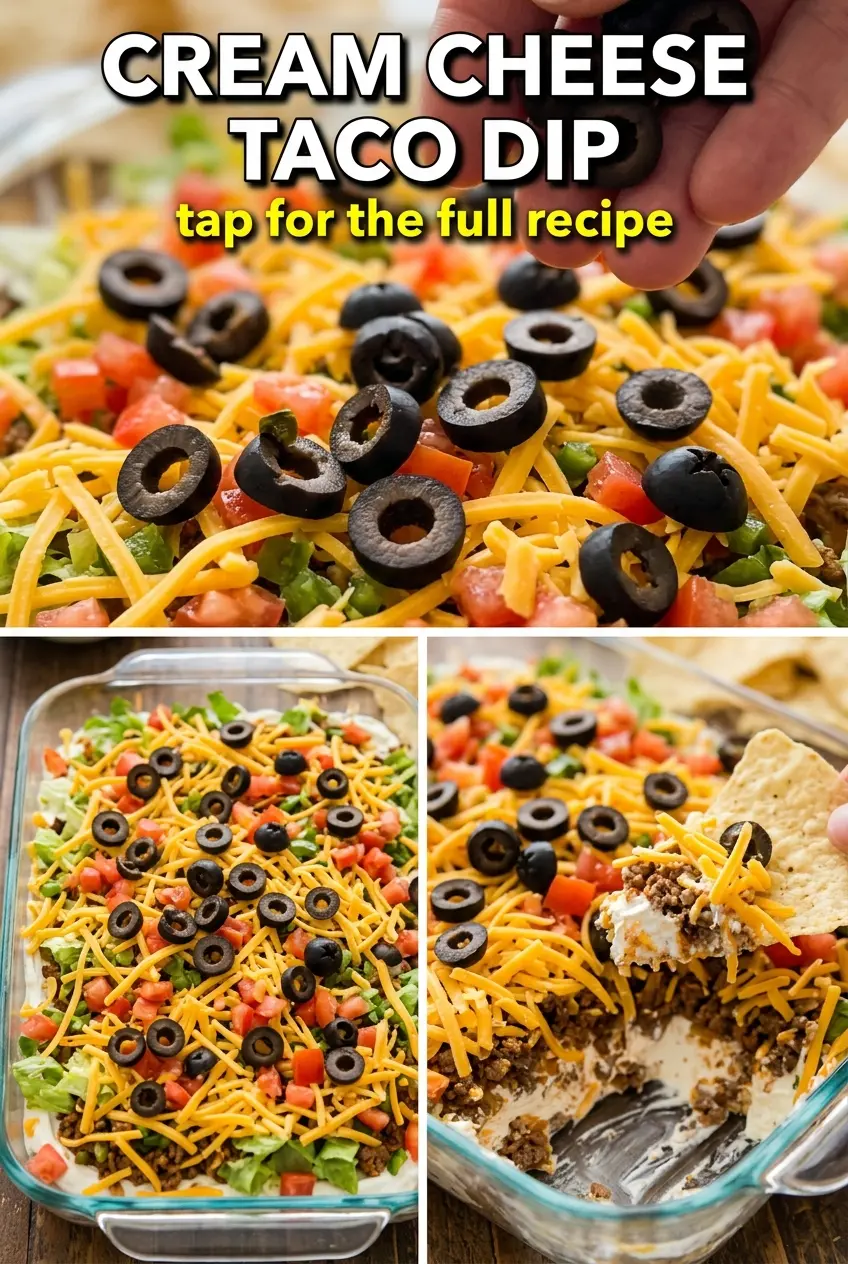
Cream Cheese Taco Dip disappears fast because it hits every note people want in a hot party dip: creamy at the bottom, savory and saucy in the middle, and bubbling cheese on top. The contrast is the whole point. Each scoop gives you soft cream cheese, seasoned beef, and a little punch from salsa and jalapeños, so it tastes layered instead of just heavy.
The part that makes this version work is the order. The cream cheese goes straight into the dish as the base, while the beef gets cooked with taco seasoning and a little salsa so it stays juicy enough to spread without turning dry. Bake long enough to melt the cheddar and warm everything through, but not so long that the dairy starts to separate. That short bake is what keeps the dip scoopable instead of greasy.
Below, you’ll find the small details that matter most: how to keep the beef from clumping, why softened cream cheese makes the dip easier to serve, and a few smart swaps if you want to stretch it for a bigger crowd.
The cream cheese layer stayed smooth and the beef mixture didn’t slide around when I scooped it up. I used a little extra salsa like suggested and it baked up with just the right amount of moisture, not watery at all.
Save this Cream Cheese Taco Dip for game day, potlucks, and any night that needs a hot, layered appetizer with melted cheddar and a cool tortilla chip crunch.
Why the Layers Matter More Than the Ingredients List
Hot taco dip fails most often when everything gets mixed together before baking. The cream cheese loses its clean, cool base, the beef sinks, and the whole thing turns muddy instead of layered. Keeping the components distinct gives you better texture in every bite and makes the dip easier to scoop without collapsing into a greasy pile.
The other place people go wrong is with the beef. If it goes into the dish too wet, the salsa and fat will pool at the edges while the top cheese browns before the center heats through. Draining the beef after browning, then stirring in just enough salsa to coat it, gives you a filling that stays saucy without flooding the pan. That balance is what keeps the cream cheese from getting loose.
- Softened cream cheese — Cold cream cheese tears instead of spreading, and once the beef hits it, those cold chunks stay stubborn. Let it sit at room temperature until it presses easily under a spoon.
- Taco seasoning — A packet gives you the salt, chile, and cumin blend that makes the beef taste like taco filling instead of plain browned meat. Homemade seasoning works too, but it needs enough salt to stand up to the cream cheese.
- Salsa — This adds moisture and acidity, which keeps the beef from tasting flat. Use a thicker salsa if yours is very loose; watery salsa makes the dip harder to serve cleanly.
- Cheddar cheese — Sharp cheddar gives the top enough flavor to matter. Mild cheddar melts fine, but it can taste a little bland against the creamy base and seasoned beef.
Building the Dip So It Stays Scoopable
Cooking the Beef Until the Moisture Leaves the Pan
Brown the beef in a skillet over medium heat, breaking it into small crumbles as it cooks. You want the meat to lose its raw pink color and pick up some browned bits, because that deepens the flavor before the seasoning goes in. If there’s a lot of fat in the pan, drain it before you add the taco seasoning and salsa. Too much liquid here is what makes the dip slide around once it’s baked.
Spreading the Cream Cheese Without Tearing It Up
Use softened cream cheese and spread it in an even layer across the bottom of a shallow baking dish. It should move easily and look smooth, not clumpy or ripped. If it’s still too firm, the beef layer will drag through it and the base won’t hold together as neatly. A smooth cream cheese layer bakes into the creamy foundation that keeps each chipful rich.
Baking Just Until the Cheese Melts
Spoon the beef mixture over the cream cheese, top it with cheddar, and bake at 350°F until the cheese is melted and the edges look hot and slightly bubbly, about 15 minutes. Don’t wait for deep browning; this dip is better when the top is melted and the center is hot rather than overbaked. If you leave it in too long, the dairy can get oily and the texture turns heavy.
Finishing With Fresh Toppings
Add the jalapeños and green onions after baking so they stay bright and crisp. If they go on too early, the jalapeños soften and the green onions lose their sharp bite. Serve it right away with tortilla chips while the cheese is still stretchy and the edges are hot enough to keep the center creamy.
How to Adjust This Dip for Different Crowds and Diets
Use ground turkey instead of beef
Ground turkey works well if you want a lighter dip, but it needs a little help or it can taste flat. Cook it until it picks up some color, then add the taco seasoning and salsa exactly the same way. You’ll lose a bit of richness, so use sharp cheddar rather than mild.
Make it vegetarian with seasoned beans
Swap the beef for a can of drained black beans or refried beans if you want a meatless version. Black beans keep more texture, while refried beans give you a smoother, thicker layer that behaves a lot like the original dip. Either way, warm the beans with taco seasoning and a spoonful of salsa before layering.
Make it gluten-free without changing the texture
Use a certified gluten-free taco seasoning packet and check the salsa label, since those two ingredients are where gluten sometimes hides. The rest of the dip is naturally gluten-free. You won’t lose anything in the baking process, and the texture stays exactly the same.
Stretch it for a bigger party
Add another half pound of beef and use a slightly larger dish if you need more servings. Keep the cream cheese layer in proportion so the dip still feels creamy instead of overloaded with meat. The bake time may need a few extra minutes if the dish is deeper, but wait for the cheese to melt fully rather than relying on a timer alone.
Storage and Reheating
- Refrigerator: Store leftovers covered for up to 3 days. The cheese firms up as it chills, but the flavor stays good.
- Freezer: This dip is not a great freezer candidate because the cream cheese can turn grainy after thawing. I don’t recommend freezing the finished dish.
- Reheating: Reheat small portions in the microwave in short bursts, or warm the whole dish in a 300°F oven until hot in the center. Heat it gently so the cream cheese doesn’t separate and the beef layer doesn’t dry out.
Questions I Get Asked About This Recipe
Cream Cheese Taco Dip
Ingredients
Equipment
Method
- Brown the ground beef in a skillet over medium heat, breaking it apart as it cooks, about 8 minutes, until browned. Drain excess fat and stir in taco seasoning and salsa.
- Spread the softened cream cheese in the bottom of a shallow baking dish, using an even layer. Top with the cooked seasoned beef mixture.
- Sprinkle shredded cheddar cheese evenly over the beef and bake at 350°F for 15 minutes, until the cheese is melted and just starting to brown at the edges. Remove from the oven and top with jalapeños and green onions.
- Serve immediately with tortilla chips, using a hot dip-to-chip pull for visible melted cheese.