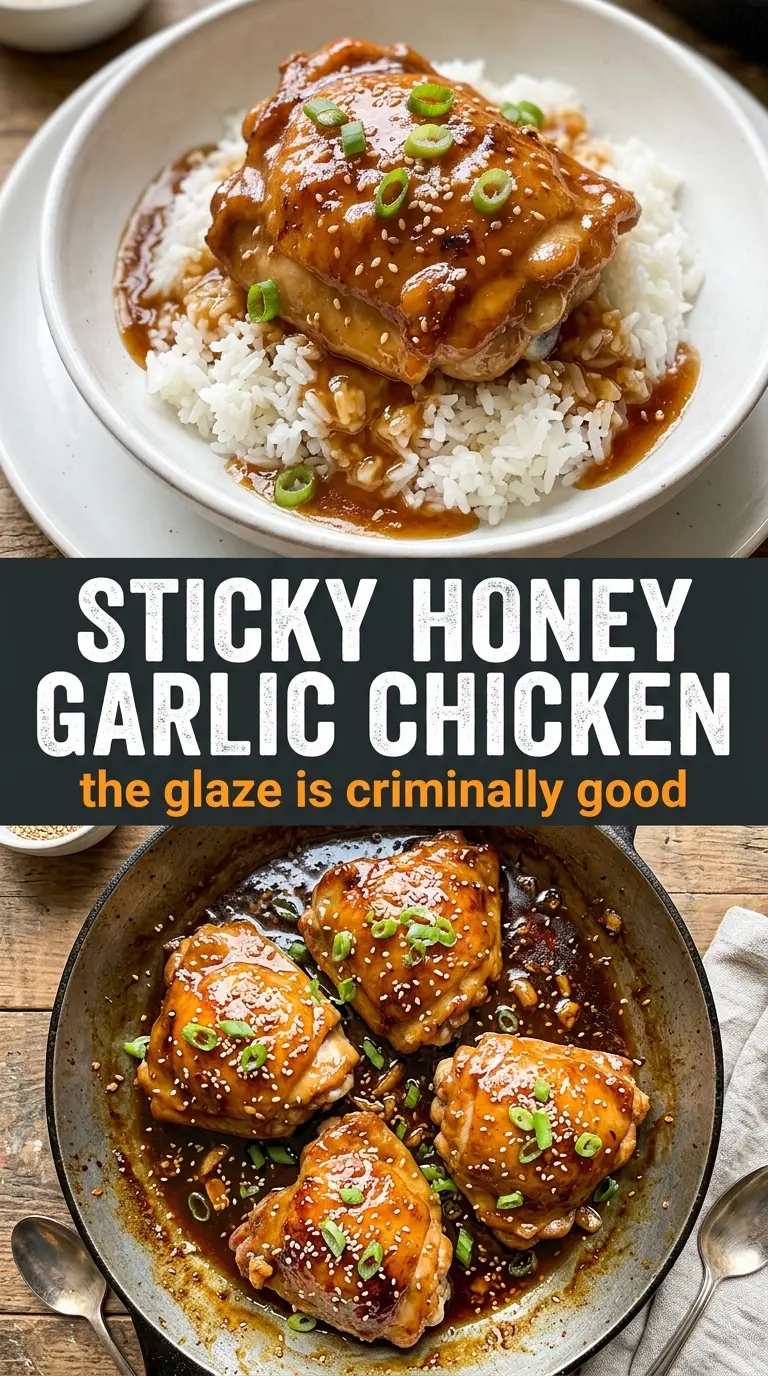
Caramelized honey garlic chicken earns its spot in the regular dinner rotation because the sauce turns glossy and sticky without needing a long simmer, and the chicken stays juicy under that deep amber glaze. The garlic cooks just enough to mellow into the honey instead of tasting sharp, and the soy sauce gives the whole skillet a savory backbone that keeps the sweetness in check.
The trick here is searing the chicken first and building the sauce in the same pan. Those browned bits left behind by the chicken are part of the flavor, and the butter helps pull them up before the honey goes in. A quick cornstarch slurry gives the glaze that clingy finish, so it coats the chicken instead of sliding off and pooling thinly at the bottom.
Below, you’ll find the small details that matter most: how to keep the garlic from burning, what to look for when the glaze is thick enough, and a few smart swaps if you need this dinner to work with what you have on hand.
The glaze turned thick and sticky in just a few minutes, and the chicken stayed juicy instead of drying out. I served it over rice and my husband went back for seconds before I even sat down.
Sticky honey garlic chicken with that deep amber glaze belongs in your weeknight rotation.
The Reason the Glaze Clings Instead of Running Off
The biggest mistake with honey garlic chicken is rushing the sauce before the pan is ready. If the chicken hasn’t left behind enough browning, the glaze tastes flat. If the garlic cooks too long before the honey goes in, it turns bitter and the whole pan loses that clean sweet-savory balance.
What fixes both problems is simple: sear the chicken until it releases easily and has a deep golden crust, then build the sauce in the same skillet while the heat is lowered just enough to keep the garlic from scorching. The cornstarch slurry matters here too. Without it, the sauce can taste right but still behave like a thin pan sauce instead of a sticky glaze.
- Searing the chicken first creates the browned base that makes the sauce taste layered, not just sweet.
- Cooking the garlic briefly in butter softens the sharp edge before the honey and soy sauce go in.
- The cornstarch slurry thickens fast, so the glaze can coat the chicken in a thin lacquer instead of sliding off.
- Rice vinegar keeps the sauce from tasting heavy and helps the sweetness land cleanly.
What Each Ingredient Is Doing in the Skillet
- Chicken breasts cook up lean and slice neatly under the glaze. If yours are thick on one end, pound them to an even thickness so they cook at the same pace and don’t dry out before the center reaches temperature.
- Honey gives the sauce its shine and stickiness. There isn’t a perfect substitute for it here, because you need both sweetness and body; maple syrup will work in a pinch, but the sauce will taste a little looser and less floral.
- Soy sauce brings the salt and depth that keeps the glaze from tasting one-note. Low-sodium soy sauce works well if you want more control over seasoning.
- Butter carries the garlic and rounds out the sauce. You can swap in a neutral oil if needed, but the finish won’t taste as rich.
- Rice vinegar sharpens the sweetness just enough to keep the sauce lively. Apple cider vinegar can stand in, though it brings a slightly stronger tang.
- Cornstarch slurry is what turns this from a thin sauce into a proper glaze. Mix it with cold water before adding it, or it can clump on contact with the hot pan.
Cooking the Chicken So the Glaze Has Something to Hold Onto
Seasoning and Searing
Pat the chicken dry before it hits the pan, then season it well with salt, pepper, and garlic powder. A dry surface gives you better browning, which matters here because the sauce picks up flavor from every browned spot in the skillet. Sear over medium-high heat until the first side releases without sticking and turns deep golden, then flip and cook the second side. If the chicken is pale and steaming, the pan is too crowded or not hot enough.
Building the Honey Garlic Sauce
Move the chicken out of the skillet and lower the heat before the garlic goes in. Butter plus garlic only needs about a minute; once it smells fragrant, the honey, soy sauce, and rice vinegar can go in. Keep the heat moderate so the honey doesn’t scorch at the bottom of the pan. The sauce should look loose at first, then start to darken and bubble in a more even way as it heats through.
Thickening and Coating
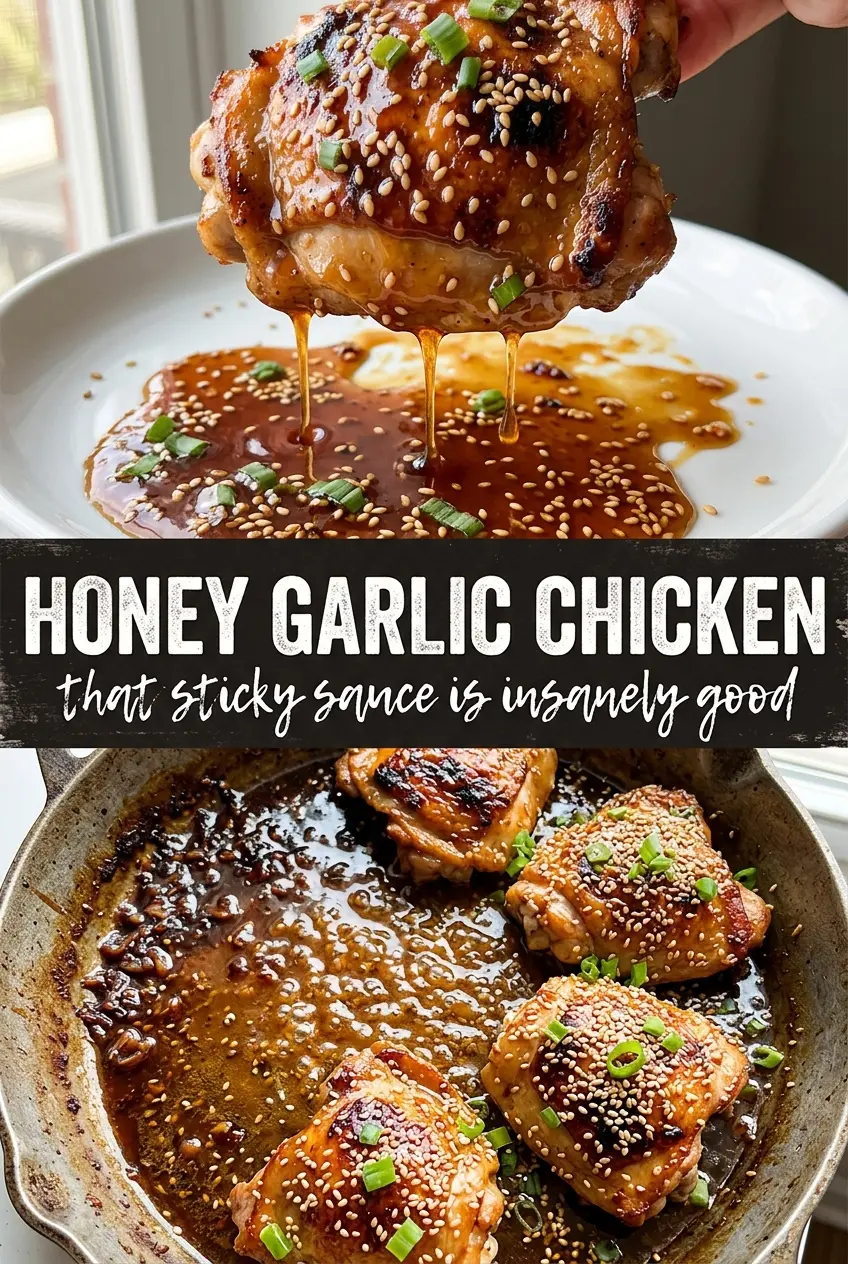
Stir in the cornstarch slurry and simmer just until the sauce turns glossy and sticky. It thickens fast, so don’t walk away from the stove. Return the chicken to the skillet and turn it through the glaze until every side is lacquered. If the sauce gets too thick, add a small splash of water; if it stays thin, give it another minute or two over gentle heat.
The Final Finish
Let the chicken rest in the sauce for a minute before serving. That last minute helps the glaze set on the surface instead of running off the moment you move it to a plate. Sesame seeds and sliced green onions add a clean finish and a little texture, especially if you’re serving it over plain rice. The whole dish should look shiny, not wet.
How to Adapt This Honey Garlic Chicken for Different Nights
Use chicken thighs for a richer result
Boneless skinless thighs work well if you want juicier meat and a little more forgiveness on the stove. They usually need a few extra minutes to cook through, but they stay tender even if the skillet runs a bit hot. The sauce clings the same way, though the finished dish will taste deeper and a little less lean.
Make it gluten-free without losing the glaze
Use a gluten-free soy sauce or tamari in place of regular soy sauce. Everything else in the sauce stays the same, and the texture won’t suffer. Tamari tends to taste a little rounder, so the finished glaze can come across slightly deeper and less sharp.
Make it dairy-free
The recipe is nearly there already; just swap the butter for a neutral oil or a plant-based butter that handles heat well. You’ll lose a little of the buttery roundness, but the sauce will still thicken and coat beautifully. Keep the heat gentle so the garlic doesn’t brown too fast in the oil.
Turn it into a sheet-pan dinner
You can roast the seasoned chicken in the oven, then simmer the sauce on the stove and spoon it over the sliced meat before serving. This method gives you less caramelization in the sauce itself, but it’s handy when you want a less hands-on dinner. The glaze will still set best if you let it bubble on the stove for a minute or two before coating the chicken.
Storage and Reheating
- Refrigerator: Store leftovers in an airtight container for up to 4 days. The glaze thickens more as it chills, which is normal.
- Freezer: Freeze for up to 2 months. The chicken holds up well, though the sauce can separate slightly after thawing; stirring while reheating brings it back together.
- Reheating: Warm gently in a skillet over low heat with a splash of water to loosen the glaze. High heat can push the sauce past sticky and into scorched, which is the fastest way to dry out the chicken.
Answers to the Questions Worth Asking
Honey Garlic Chicken
Ingredients
Equipment
Method
- Season the boneless skinless chicken breasts with salt, pepper, and garlic powder to taste. Heat the olive oil in a large skillet over medium-high heat and sear until deeply golden, about 5-6 minutes per side, until the internal temperature reaches 165°F, then remove.
- In the same pan, cook the minced garlic in butter over medium-high heat for 1 minute until fragrant, stirring so it doesn’t brown. Add the honey, soy sauce, and rice vinegar and stir to combine.
- Stir in the cornstarch mixed with water and simmer for 2-3 minutes until the sauce thickens into a sticky glaze with a glossy sheen.
- Return the chicken breasts to the pan and turn to coat in the honey garlic glaze. Cook for 1-2 more minutes until the glaze clings and the surface looks blistered and deeply amber.
- Garnish with sesame seeds and sliced green onions. Serve over steamed rice.