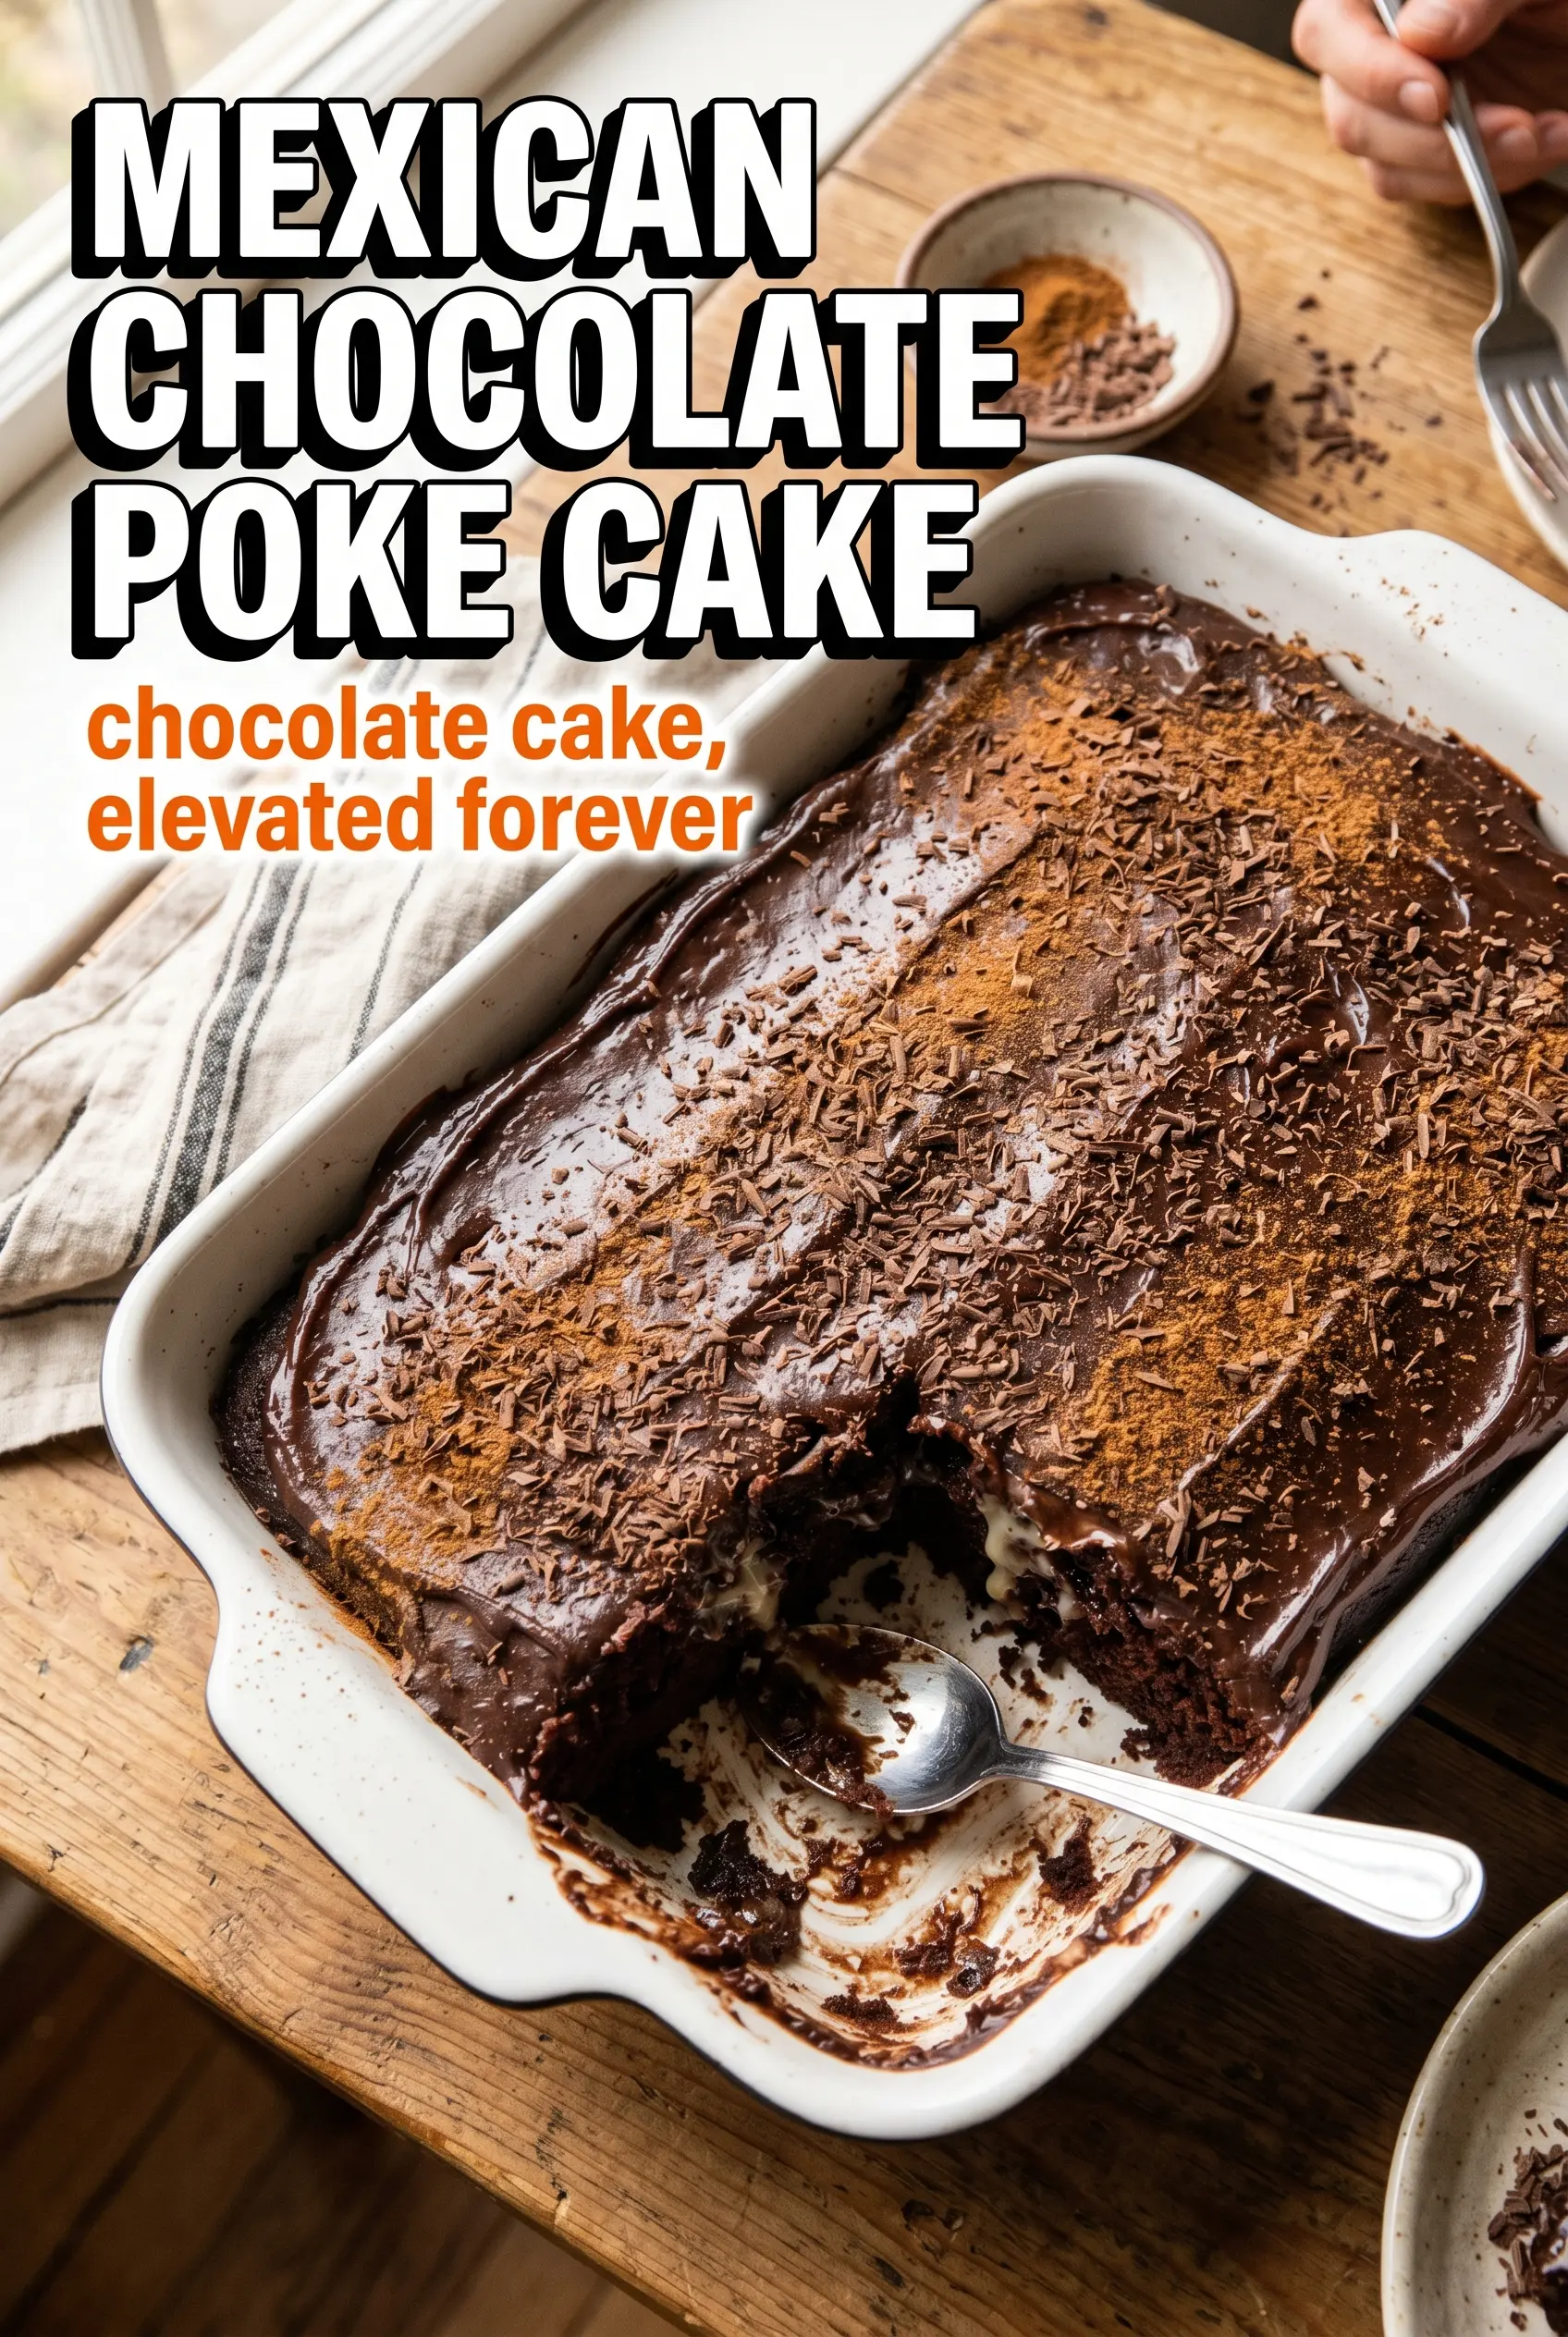
Moist chocolate cake gets even better when the warm crumb drinks in a ribbon of sweetened condensed milk and chocolate syrup. The result is dense at the bottom, soft and tender through the middle, and topped with a cool layer of whipped cream that keeps every slice balanced instead of heavy. The cinnamon and cayenne don’t shout; they slip in behind the chocolate and leave a little warmth on the finish.
What makes this cake work is the timing. The cake has to be poked while it’s still warm so the glaze can soak down into the holes instead of sitting on top. Coffee deepens the chocolate without making the cake taste like coffee, and buttermilk keeps the crumb plush while the baking soda gives it lift. That combination is what keeps the cake from turning dry or flat.
Below, you’ll find the one trick that keeps the glaze from turning gummy, plus a few smart swaps if you want to adjust the heat or make the cake a day ahead for a party.
The cake stayed incredibly moist after the glaze soaked in, and the cinnamon-cayenne finish gave it a little kick without overpowering the chocolate. My guests kept asking what made it taste so different.
Save this Mexican Chocolate Poke Cake for a fudgy dessert with warm spice, chocolate soak, and a whipped cream topping.
The Part That Keeps the Glaze From Sitting on Top
Poke cake can go wrong fast when the holes are too shallow or the cake cools before the filling goes in. Then the glaze stays on the surface and turns sticky instead of soaking through the crumb. Here, the cake should come out warm, not hot, and the fork should make plenty of holes all the way across the pan so the sweetened condensed milk mixture has somewhere to go.
The other common mistake is rushing the pour. If you dump the glaze in one spot, it floods one section and misses the rest. Pour it slowly over the full surface and give the pan a minute between passes so the liquid can settle into the holes. That’s what gives you the moist, even texture in every slice instead of a wet top and dry center.
What the Chocolate, Coffee, and Spice Are Each Doing Here
Strong brewed coffee is one of the best tools in a chocolate cake because it sharpens the cocoa without announcing itself. Use cooled coffee, not hot, so it doesn’t scramble the eggs or thin the batter too much. If you don’t want coffee in the mix, hot water works, but the cake will taste a little flatter.
- Cocoa powder — Unsweetened cocoa gives the cake its deep chocolate base. Dutch-process cocoa will make the flavor a little smoother, but standard cocoa works well here and keeps the structure dependable.
- Buttermilk — This helps keep the crumb tender and reacts with the baking soda for lift. If you’re out, stir 1/2 cup milk with 1/2 teaspoon lemon juice or vinegar and let it sit for 5 minutes before using.
- Cinnamon and cayenne — These are the signature notes. The cinnamon rounds out the chocolate, and the cayenne adds warmth without turning the cake spicy if you keep the amount modest.
- Sweetened condensed milk — This is what gives the poke cake its rich, almost caramelized sweetness and keeps the center soft. Regular milk won’t do the same job because it doesn’t have the body or sweetness to soak into the crumb that way.
Building the Cake So the Center Stays Moist, Not Gummy
Mix the Dry Ingredients First
Whisk the flour, sugar, cocoa, baking soda, baking powder, salt, cinnamon, and cayenne until the color looks even and there are no cocoa streaks left. That step matters more than it sounds, because cocoa and spices clump easily and you want the heat distributed all the way through the batter. A quick whisk now keeps you from biting into a pocket of cayenne later.
Bring the Wet Batter Together Gently
Beat the eggs, cooled coffee, oil, buttermilk, and vanilla until smooth, then fold them into the dry ingredients just until the flour disappears. Overmixing builds a tougher cake and can make the crumb tunnel in the oven. The batter will look loose and glossy; that’s correct.
Bake Until the Center Springs Back
Pour the batter into a greased 9×13 pan and bake until a toothpick comes out clean, about 30 to 35 minutes. If the cake pulls away from the sides and springs back when you touch the center lightly, it’s ready. Pull it too early and the middle collapses under the glaze; bake it too long and it won’t absorb as much filling.
Soak, Cool, and Finish
While the cake is still warm, poke holes all over with a fork and pour on the condensed milk and chocolate syrup mixture. Let the cake cool completely before adding whipped cream, or the topping will melt and slide off. Finish with chocolate shavings right before serving so they stay crisp and visible on top.
How to Adjust the Heat, the Sweetness, and the Make-Ahead Plan
Make It Milder
Leave out the cayenne and the cake still tastes like Mexican chocolate because the cinnamon carries enough warmth on its own. If you want just a whisper of spice, use a pinch instead of the full 1/4 teaspoon. The chocolate stays front and center either way.
Dairy-Free Version
Use a full-fat coconut milk or oat-based condensed milk substitute if you can find one, and swap the buttermilk for a dairy-free milk mixed with a little vinegar. The cake texture will still be moist, but the topping won’t have quite the same rich tang as the original. Choose a dairy-free whipped topping that holds its shape well.
Making It Ahead for a Party
This cake actually improves after a few hours in the fridge because the glaze settles into the crumb. Bake and soak it a day ahead, then top with whipped cream and shavings shortly before serving. If you add the topping too early, it softens and loses that clean, billowy look.
Storage and Reheating
- Refrigerator: Store covered for up to 4 days. The cake gets even more moist as it sits, but the whipped cream is best in the first 2 days.
- Freezer: Freeze the cake without the whipped cream for up to 2 months. Wrap slices tightly and thaw overnight in the refrigerator before topping.
- Reheating: This cake is meant to be served cold or at cool room temperature, not reheated. If you warm it, the whipped cream will melt and the glaze can turn loose.
Answers to the Questions Worth Asking
Mexican Chocolate Poke Cake
Ingredients
Equipment
Method
- Preheat the oven to 350°F and grease a 9x13 inch baking pan. Set aside the pan so the batter can go in right after mixing.
- Whisk together all-purpose flour, granulated sugar, unsweetened cocoa powder, baking soda, baking powder, salt, cinnamon, and cayenne pepper. Whisk until the color looks evenly chocolate-brown with no spice clumps.
- Beat together eggs, strong brewed coffee, vegetable oil, buttermilk, and vanilla extract. Mix until the batter looks smooth and cohesive.
- Fold the wet mixture into the dry ingredients until just combined. Stop as soon as no dry streaks remain to keep the crumb tender.
- Pour the batter into the prepared pan. Gently smooth the top for even baking.
- Bake at 350°F for 30-35 minutes, until a toothpick comes out clean. The center should spring back slightly and the edges should look set.
- While the cake is still warm, pierce all over with a fork. Make even holes across the surface so the glaze can soak in.
- Combine sweetened condensed milk and chocolate syrup, then pour evenly over the cake. Add slowly so the top looks glossy and the liquid seeps into the fork holes.
- Let the cake cool completely. Wait until it reaches room temperature so the whipped cream won’t melt.
- Top with whipped cream and finish with chocolate shavings before serving. Slice and serve once the topping is fully set on the cool cake.